
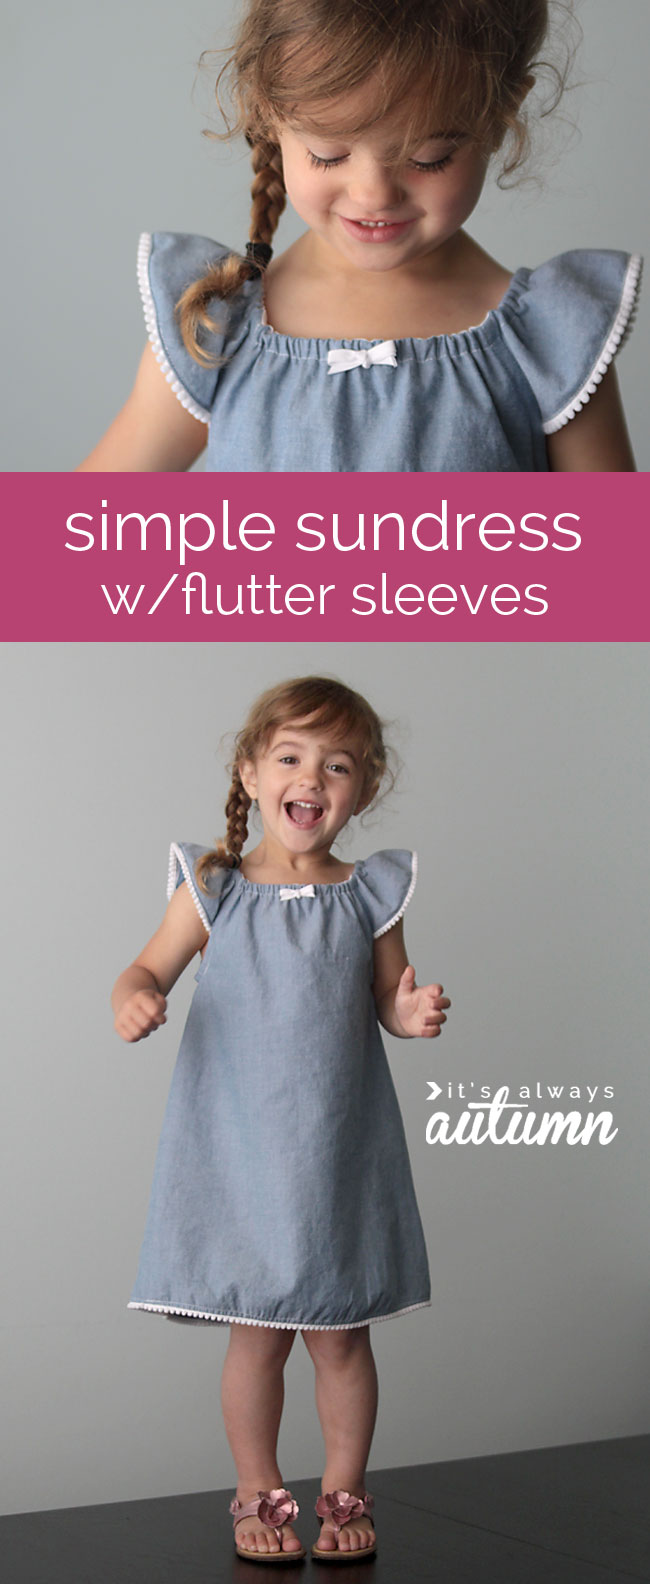
flutter sleeve dress or top pattern
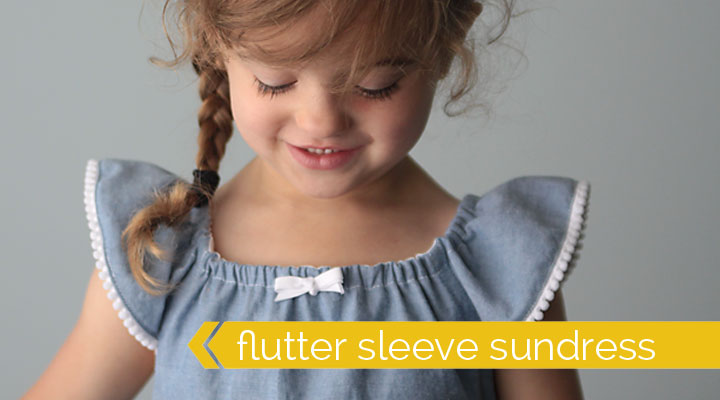
Hi all! I have a really fun easy sewing project to share today – it’s a simple sundress with flutter sleeves. I made up a quick pattern using a t-shirt as reference an sewed up this dress in just a few hours. I chose a soft light blue chambray for the dress and added tiny pom pom trim around the hem and sleeves. It’s not pink, it doesn’t look like a princess dress, and my daughter actually likes it – success!
This tutorial is part of Thirty Days of Sundresses on Melly Sews. I look forward to following along with this series every summer, because you get tons of ideas for summer dresses, both for girls and for adults. Plus, there are weekly giveaways! Click on over to enter this week’s giveaway and check out all the tutorials shared so far.

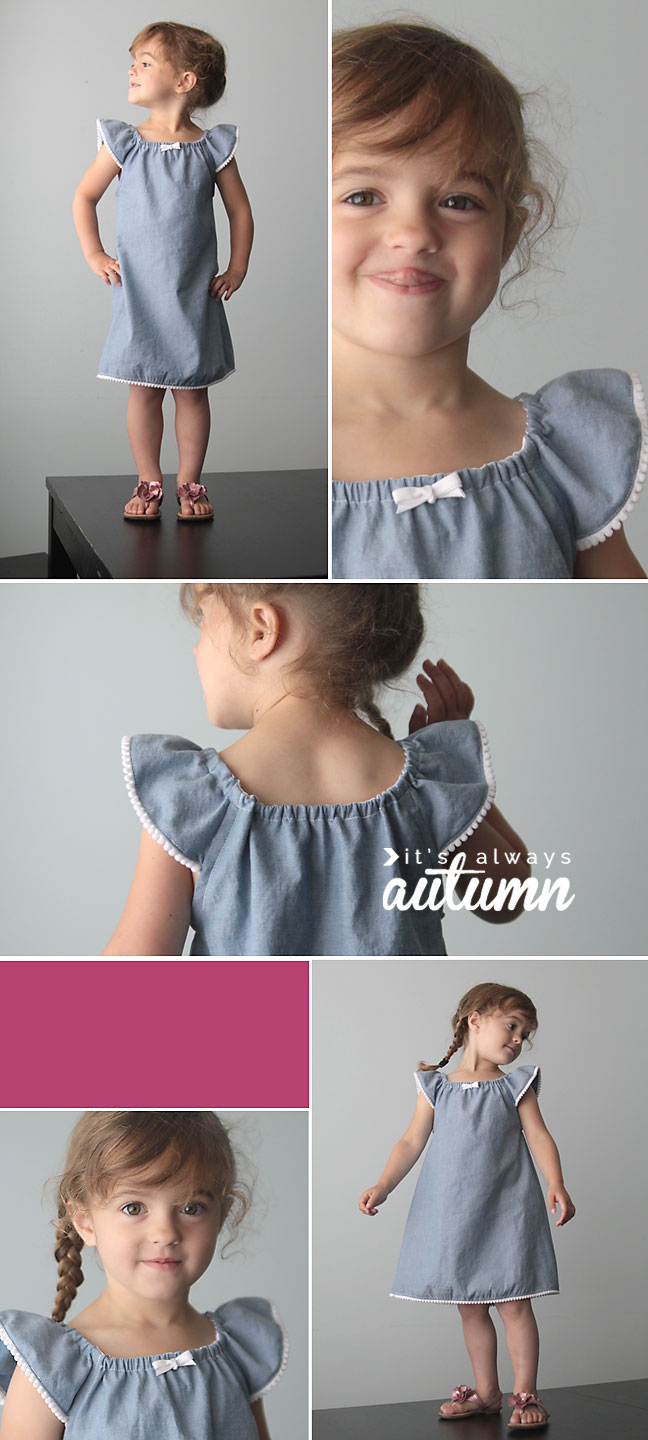
I just adore this little dress!
The design of this dress also looks super cute as a top – click through to this post to see an example and get a free pattern in size 4T.

If your little girls doesn’t wear 4T, you can draft your own pattern. Here’s how:

1 – I used a t-shirt that fits my daughter well and freezer paper to trace general shape I wanted from the dress, as you can see in the photo. The only thing I should have done differently is to not cut the arm opening quite so low (I moved the bottom of the armhole up almost 2 inches on the pattern, so if you’re drafting your own you may want to print the pattern for reference). I cut the pattern into two pieces – a bodice piece and a sleeve piece. The bodice piece will get cut on the fold, with the fold being down the center. The sleeve piece will also get cut on the fold, with the fold being over the shoulder.
2 – I retraced the bodice piece, adding an extra 2 inches at the fold.
3 – I retraced the sleeve piece, adding an extra 2 inches at the fold. That gives the dress and sleeves enough extra room to add gathers all around the neckline and shoulders for the “peasant dress” look.
Then I cut two of the bodice (on the fold) and two sleeves (on the fold).

Place bodice pieces RST together and sew down the sides.
Next, finish the bottom edge of the sleeve. You can just hem it, or add trim like I did.
Next I attached the sleeves to the bodice and finished the arm holes with single fold bias tape, as you see below.
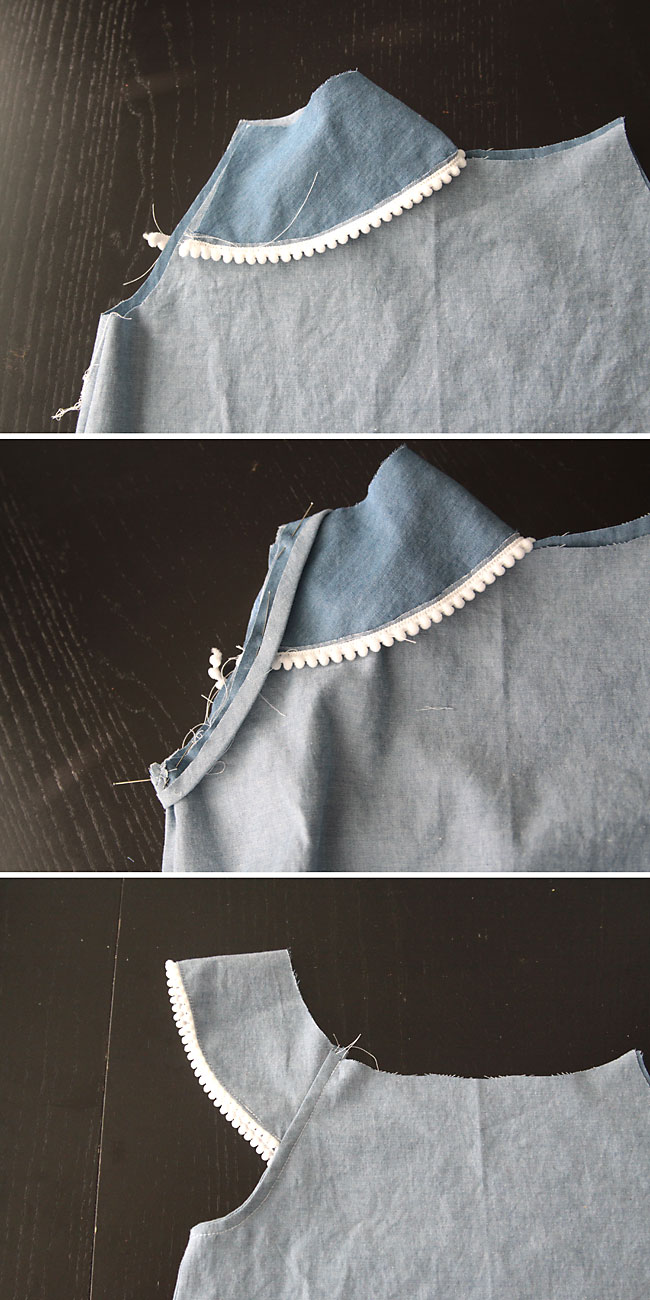
I just made some single fold bias tape from the extra fabric for this, although it all gets folded to the inside so you don’t see it – so it doesn’t need to match. Repeat with the other sleeve/arm hole.
Nearly done! We just need to add a casing that goes all the way around the neckline/shoulders to hold some elastic. I used single fold bias tape to create the casing (store bought this time). Attach as shown:
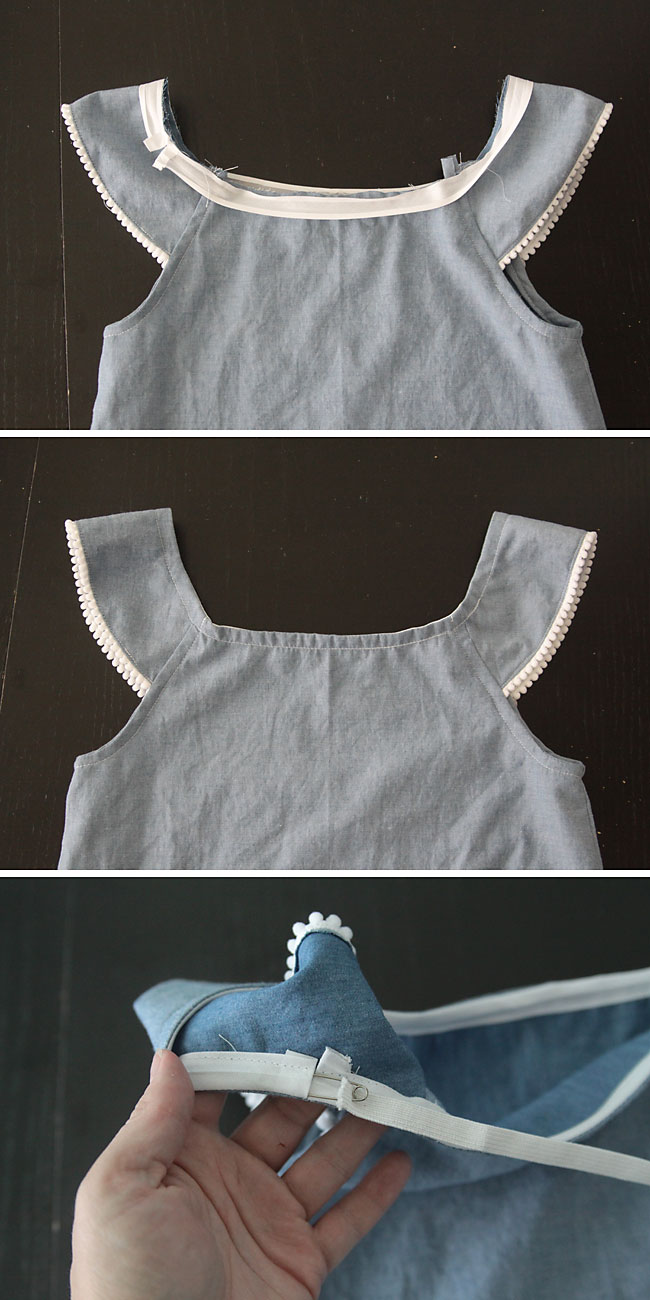
Sew the bias tape to the outside of the neckline, turn and press to the inside, then stitch close to the edge of the tape to create a casing. Use a safety pin to thread elastic through it and gather until the neckline is as small as you’d like (it helps to try it on at this point). Sew the ends of your elastic together and finish the hemline as desired:

I tied a small bow with a little extra bias tape and hand stitched it to the front of the dress. All done! If anyone’s interested, I’ll try to upload a copy of my pattern in size 4t. Let me know in the comments!
***Remember, the pattern is now available here: girl’s flutter sleeve dress and top free pattern
You can also see what the pattern looks like as a shirt and find and more photos of how to sew the dress (or shirt) in that post. Thanks!
Hi all! I have a really fun easy sewing project to share today – it’s a simple sundress with flutter sleeves. I made up a quick pattern using a t-shirt as reference an sewed up this dress in just a few hours. I chose a soft light blue chambray for the dress and added tiny pom pom trim around the hem and sleeves. It’s not pink, it doesn’t look like a princess dress, and my daughter actually likes it – success!
This tutorial is part of Thirty Days of Sundresses on Melly Sews. I look forward to following along with this series every summer, because you get tons of ideas for summer dresses, both for girls and for adults. Plus, there are weekly giveaways! Click on over to enter this week’s giveaway and check out all the tutorials shared so far.
I just adore this little dress!
The design of this dress also looks super cute as a top – click through to this post to see an example and get a free pattern in size 4T.
If your little girls doesn’t wear 4T, you can draft your own pattern. Here’s how:
1 – I used a t-shirt that fits my daughter well and freezer paper to trace general shape I wanted from the dress, as you can see in the photo. The only thing I should have done differently is to not cut the arm opening quite so low (I moved the bottom of the armhole up almost 2 inches on the pattern, so if you’re drafting your own you may want to print the pattern for reference). I cut the pattern into two pieces – a bodice piece and a sleeve piece. The bodice piece will get cut on the fold, with the fold being down the center. The sleeve piece will also get cut on the fold, with the fold being over the shoulder.
2 – I retraced the bodice piece, adding an extra 2 inches at the fold.
3 – I retraced the sleeve piece, adding an extra 2 inches at the fold. That gives the dress and sleeves enough extra room to add gathers all around the neckline and shoulders for the “peasant dress” look.
Then I cut two of the bodice (on the fold) and two sleeves (on the fold).
Place bodice pieces RST together and sew down the sides.
Next, finish the bottom edge of the sleeve. You can just hem it, or add trim like I did.
Next I attached the sleeves to the bodice and finished the arm holes with single fold bias tape, as you see below.
I just made some single fold bias tape from the extra fabric for this, although it all gets folded to the inside so you don’t see it – so it doesn’t need to match. Repeat with the other sleeve/arm hole.
Nearly done! We just need to add a casing that goes all the way around the neckline/shoulders to hold some elastic. I used single fold bias tape to create the casing (store bought this time). Attach as shown:
Sew the bias tape to the outside of the neckline, turn and press to the inside, then stitch close to the edge of the tape to create a casing. Use a safety pin to thread elastic through it and gather until the neckline is as small as you’d like (it helps to try it on at this point). Sew the ends of your elastic together and finish the hemline as desired:
I tied a small bow with a little extra bias tape and hand stitched it to the front of the dress. All done! If anyone’s interested, I’ll try to upload a copy of my pattern in size 4t. Let me know in the comments!
***Remember, the pattern is now available here: girl’s flutter sleeve dress and top free pattern
You can also see what the pattern looks like as a shirt and find and more photos of how to sew the dress (or shirt) in that post. Thanks!
sewing dress or top pattern
•
,
•
No Comments


